Nostalgia products deliver fun, unique appliances inspired by classic American designs, perfect for family gatherings and enjoying fresh popcorn anytime.
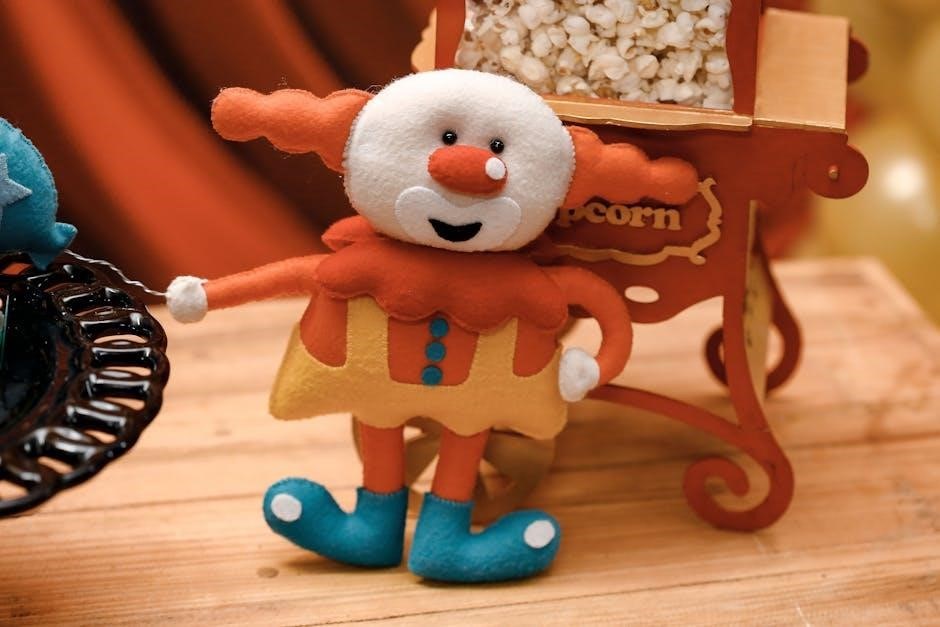
These tabletop popcorn makers, like models RHP625 and RKP630, bring the timeless appeal of a movie theater experience directly into your home.
This manual provides essential instructions for safe operation, cleaning, and enjoying delicious popcorn with your new Nostalgia appliance.
What is a Nostalgia Popcorn Maker?
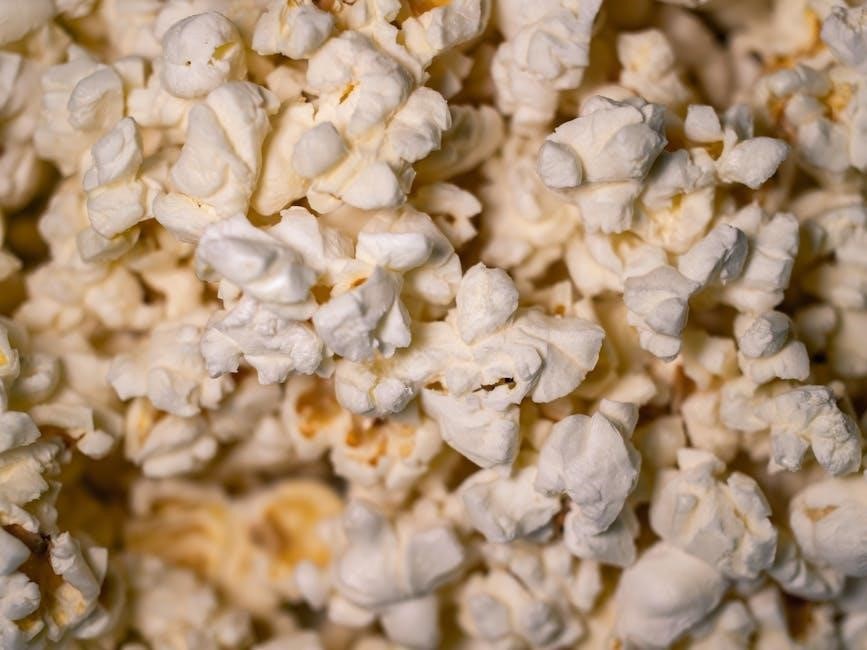
A Nostalgia Popcorn Maker is a countertop appliance designed to recreate the classic experience of enjoying fresh, delicious popcorn, reminiscent of vintage street-corner stands.
These makers come in various styles, including hot air models like the RHP625, which utilize heated air circulation for a healthier, oil-free popping method, and kettle-style models, such as the RKP630, which mimic traditional carnival popcorn machines.
Nostalgia focuses on retro aesthetics, offering appliances with a timeless appeal. They aim to provide fun and convenient ways to enjoy classic treats with family and friends, bringing a touch of nostalgia to any occasion.
Why Choose a Hot Air Popcorn Maker?
A hot air popcorn maker, like the Nostalgia RHP625, offers a healthier alternative to traditional oil-popped popcorn. Utilizing only hot air circulation, it eliminates the need for added oils, resulting in a lower-fat snack.
This method ensures even cooking, producing light and fluffy popcorn with every batch. Hot air makers are also generally easier to clean, as there’s no oil residue to contend with.
They are perfect for health-conscious individuals or families seeking a convenient and mess-free way to enjoy a classic treat.
Understanding Your Model: RHP625 & RKP630
Nostalgia offers two distinct popcorn maker styles: the RHP625 (hot air) and the RKP630 (kettle style), each with unique features and operation.
Identifying Your Nostalgia Popcorn Maker Model Number
Locating your model number is crucial for accessing the correct support, parts, and instructions. The model number is typically found on a sticker located on the bottom of the popcorn maker unit.
Carefully inspect the base; it’s usually a small, rectangular label. For Nostalgia products, including the RHP625 and RKP630, this sticker clearly displays the model number (e.g., RHP625 or RKP630).
Keep this model number handy when contacting customer support or searching for online resources, ensuring you receive accurate assistance tailored to your specific appliance.
Key Features of the RHP625 (Hot Air)
The Nostalgia RHP625 Hot Air Popcorn Maker offers a healthier popcorn experience, utilizing hot air circulation instead of oil. This results in a lighter, fluffier snack with fewer calories.
Its compact, retro design adds a nostalgic touch to any kitchen or entertainment space. The simple operation involves adding kernels to the popping chamber, and the unit quickly delivers a batch of fresh popcorn.
Enjoy convenient, healthy popcorn without the mess of oil, making the RHP625 ideal for families and health-conscious snackers.
Key Features of the RKP630 (Kettle Style)
The Nostalgia RKP630 Kettle Style Popcorn Maker replicates the classic charm of old-fashioned street-corner popcorn stands. This tabletop unit allows you to create authentic, theater-style popcorn in your own home.
Featuring a 8-ounce kettle, it can produce up to 32 cups of popcorn per batch. The stirring mechanism ensures even heating and prevents burning, while the included scoop and oil spoon add convenience.
Perfect for parties and movie nights, the RKP630 delivers a delicious and visually appealing popcorn experience.
Setting Up Your Popcorn Maker
Before enjoying fresh popcorn, carefully unpack your Nostalgia machine, inspect for damage, and thoroughly clean all removable parts with mild soap and water.
Unboxing and Initial Inspection
Carefully remove your Nostalgia Popcorn Maker from the packaging, ensuring all components are present. These typically include the popcorn maker base, popping chamber (for hot air models), kettle (for kettle-style models), measuring cup, and potentially other accessories like a scoop or oil spoon.
Inspect the unit for any visible damage incurred during shipping, such as cracks, dents, or loose parts. If any damage is detected, do not attempt to operate the appliance and contact customer support immediately. Retain all packaging materials for potential returns or warranty claims.
Familiarize yourself with the different parts of your specific model (RHP625 or RKP630) before proceeding.
Cleaning Before First Use
Before enjoying your first batch of popcorn, thoroughly clean all removable parts of your Nostalgia Popcorn Maker. Wash the popping chamber or kettle, measuring cup, and any included accessories with warm, soapy water. Rinse completely and allow to air dry.
Wipe down the exterior of the popcorn maker base with a damp cloth. Do not immerse the base in water or any other liquid, as this could cause electrical shock. Ensure all cleaning agents are food-safe.
This initial cleaning removes any manufacturing residue and ensures a hygienic popcorn-making experience.
Power Source Requirements
Your Nostalgia Popcorn Maker is designed for standard household electrical outlets. Ensure your outlet provides 120V AC, 60Hz power. Do not use with any other voltage, as this may damage the unit and void the warranty.
Avoid using extension cords if possible. If an extension cord is necessary, ensure it is rated for at least the same wattage as the popcorn maker. Always plug directly into a wall outlet—avoid power strips.
Verify the outlet is easily accessible and can be switched off quickly in case of emergency.

Operating Instructions: Hot Air Model (RHP625)
The RHP625 utilizes hot air for a healthier popcorn experience! Simply add kernels to the chamber, ensuring proper airflow, and enjoy fluffy results.
Adding Popcorn Kernels
Before beginning, ensure the Nostalgia Hot Air Popcorn Maker (RHP625) is unplugged and cool. Carefully measure the desired amount of popcorn kernels – typically ½ to ¾ cup is recommended for optimal popping.
Pour the kernels directly into the popping chamber, avoiding overfilling. Overfilling can restrict airflow and lead to unpopped kernels or uneven popping.
It’s crucial to not add oil, butter, or any other seasonings before or during the popping process with this hot air model. These additions can damage the unit and create a fire hazard.
Ensure the kernel measuring cup is used for accurate measurements.
Ensuring Proper Airflow
Proper airflow is vital for efficient and complete popcorn popping with the RHP625 Nostalgia Hot Air Popcorn Maker. After adding kernels, securely attach the clear top cover, ensuring it clicks into place.
The cover directs the hot air stream for even kernel circulation. Do not operate the unit without the cover properly secured, as this could cause kernels to scatter.
Avoid obstructing the air vents located on the unit’s base or sides. These vents are essential for drawing in air and expelling the popped popcorn.
Regularly inspect vents for any blockages.
Popping Time and Monitoring
Once the RHP625 is switched on, popping typically begins within 60-90 seconds. Monitor the unit closely during operation; the popping rate will gradually slow as most kernels have popped.
Do not attempt to open the unit while kernels are still popping. Wait until the popping sound ceases almost entirely before switching off the popcorn maker.
A few unpopped kernels are normal. Overheating can occur if left running after popping stops, so immediate shut-off is recommended.
Carefully remove the bowl to enjoy your fresh, hot air-popped popcorn!
Operating Instructions: Kettle Style Model (RKP630)
The RKP630 replicates classic popcorn stands, offering a delightful kettle-style experience. Add oil and kernels to the kettle, and enjoy fresh popcorn!
Adding Oil and Kernels
Before beginning, ensure the RKP630 is placed on a stable, heat-resistant surface. Add approximately 1-2 tablespoons of popcorn oil into the kettle. Carefully measure ½ to ¾ cup of popcorn kernels, depending on your desired batch size, and pour them into the heated oil.
Stir the kernels and oil gently to ensure they are evenly coated. This helps promote even popping and prevents burning. Do not overfill the kettle; leave sufficient space for the popcorn to expand during the popping process.
Avoid using cooking sprays, as they can leave a residue and affect the flavor of your popcorn.
Heating and Stirring Process
Once the oil and kernels are combined, turn the RKP630 popcorn maker on. The unit will begin to heat up. Continuously stir the kernels with the provided scoop or spoon during the initial heating phase. This prevents sticking and ensures even cooking.
As the popcorn begins to pop, reduce stirring to prevent breakage, but continue to monitor closely. The popping action will become vigorous; maintain a safe distance.
The entire process typically takes 2-3 minutes. Listen for the popping to slow down significantly – this indicates it’s nearly finished.
Preventing Burning
To avoid burnt popcorn with your RKP630, immediately turn off the unit when the popping slows to 2-3 seconds between pops. Do not attempt to pop unpopped kernels, as they will likely burn.
Consistent stirring throughout the heating process is crucial; it distributes heat evenly and minimizes sticking. Using the correct oil-to-kernel ratio is also vital – follow recipe guidelines carefully.
Never leave the popcorn maker unattended during operation. Prompt action upon completion prevents scorching and ensures a flavorful snack.

Safety Precautions
Always supervise operation to avoid burns or scalds. Ensure proper electrical safety by using a grounded outlet and avoiding water exposure.
Never leave the popcorn maker unattended during use, and keep it out of reach of children.
Avoiding Burns and Scalds
Caution: The Nostalgia Popcorn Maker surfaces become extremely hot during operation. Avoid touching the exterior, especially the popping chamber and lid, while the unit is on or immediately after use.
Use oven mitts or heat-resistant gloves when handling hot components. Be mindful of escaping steam, as it can cause scalding. Carefully pour popcorn into a bowl, directing it away from your body.
Allow the unit to cool completely before cleaning or storing. Keep children and pets away from the popcorn maker during and after use to prevent accidental burns.
Electrical Safety Guidelines
Important: Always ensure the Nostalgia Popcorn Maker is plugged into a grounded 120V AC outlet. Never operate the appliance with a damaged cord or plug. Do not use an extension cord.
Avoid immersing the base, cord, or plug in water or any other liquid. Unplug the unit when not in use and before cleaning. Never attempt to disassemble or repair the popcorn maker yourself.
If the appliance malfunctions, discontinue use immediately and contact customer support. Electrical shock hazard exists if safety precautions are not followed.
Supervision During Operation
Caution: Close supervision is necessary when the Nostalgia Popcorn Maker is in use, especially around children. The appliance becomes hot during operation, presenting a burn risk.
Never leave the popcorn maker unattended while it’s plugged in or actively popping. Ensure children understand the dangers of touching hot surfaces. Always allow the unit to cool completely before handling or storing.
Proper supervision minimizes the risk of accidents and ensures a safe and enjoyable popcorn-making experience for the whole family.

Cleaning and Maintenance
Regular cleaning ensures optimal performance and longevity of your Nostalgia Popcorn Maker. Wipe down surfaces after each use and store properly.
Consistent maintenance prevents buildup and keeps your appliance in excellent condition for countless popcorn-filled moments.
Cleaning After Each Use
After each use, always unplug your Nostalgia Popcorn Maker and allow it to cool completely before cleaning. For both the RHP625 and RKP630 models, remove any unpopped kernels.
Wipe down the exterior with a damp cloth; avoid abrasive cleaners that could damage the finish. The popping chamber or kettle should be wiped clean to remove any oil or residue;
For the RKP630, the kettle may be removable for easier cleaning. Ensure all parts are thoroughly dry before reassembling and storing the unit. Regular cleaning prevents buildup and ensures optimal performance.
Proper Storage Techniques
To prolong the life of your Nostalgia Popcorn Maker, store it in a cool, dry place when not in use. Ensure the unit is completely clean and dry before storage to prevent mold or mildew.
Avoid storing the appliance in direct sunlight or areas with high humidity. Carefully coil the power cord and secure it to prevent damage.
If storing for an extended period, consider placing the unit in its original packaging or a protective bag. Proper storage maintains functionality and ensures it’s ready for your next movie night!
Troubleshooting Common Issues
If your Nostalgia Popcorn Maker isn’t popping, ensure kernels are fresh and the airflow vents aren’t blocked. For uneven popping, try adjusting the amount of kernels used.
A burning smell indicates potential overheating or burnt kernels; immediately unplug the unit and discard any burnt residue.
Always check the power source and ensure the unit is properly assembled. If issues persist, consult the warranty information for customer support contact details. Regular cleaning prevents many problems!
Troubleshooting
Nostalgia Popcorn Makers can occasionally experience issues; this section provides solutions for common problems like unpopped kernels or burning smells.
Follow these steps to quickly diagnose and resolve issues, ensuring continued enjoyment of fresh, homemade popcorn.
Popcorn Not Popping
If your Nostalgia Popcorn Maker isn’t popping, first ensure the unit is properly plugged in and receiving power. Verify you’ve added a sufficient amount of kernels to the popping chamber, but avoid overfilling.
For hot air models (RHP625), confirm the airflow vents aren’t blocked, as restricted airflow hinders the popping process. With kettle models (RKP630), ensure adequate oil is used to facilitate heat transfer to the kernels.
Old or stale kernels may also fail to pop; use fresh popcorn kernels for optimal results. Finally, check that the unit is heating correctly – if it isn’t, consult the warranty information.
Uneven Popping
Uneven popping with your Nostalgia Popcorn Maker often indicates inconsistent heat distribution or kernel coverage. For hot air models (RHP625), ensure kernels are spread in a single layer within the popping chamber, avoiding clumps.
With kettle models (RKP630), consistent stirring is crucial to prevent kernels from burning on the bottom and to ensure even oil coating. A slow, steady stirring motion is recommended.
If using pre-measured oil, verify the correct amount is being used. Also, check the power outlet to confirm a stable voltage supply, as fluctuations can affect heating consistency.
Burning Smell
A burning smell from your Nostalgia Popcorn Maker usually indicates scorched kernels or oil residue. Immediately unplug the unit to prevent further burning and potential fire hazard. For kettle models (RKP630), insufficient stirring is a common cause; ensure continuous movement.
With hot air models (RHP625), leftover unpopped kernels at the bottom can burn. Thoroughly clean the popping chamber after each use to remove any remnants.
If the smell persists after cleaning, inspect the heating element for visible debris and contact customer support for assistance.
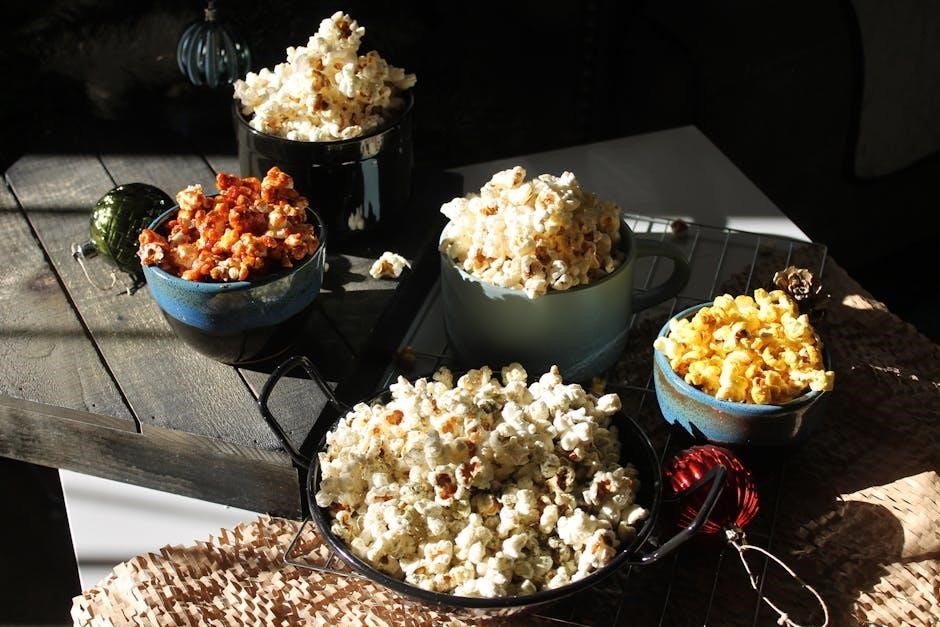
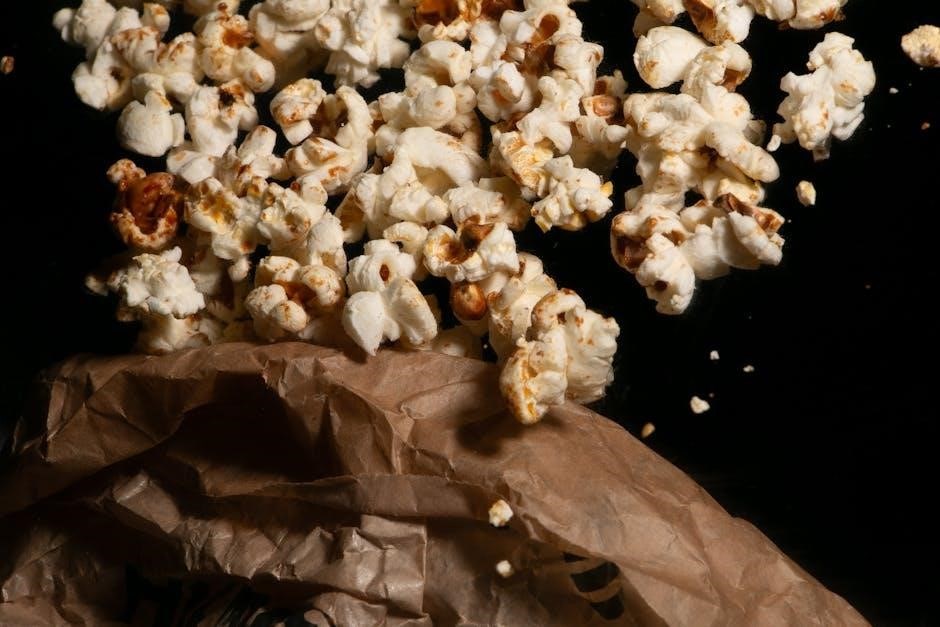
Recipes and Flavor Ideas
Elevate your popcorn experience beyond basic butter! Explore sweet and savory variations, from cinnamon sugar to cheesy blends, using your Nostalgia maker.
Experiment with seasonings and toppings for a customized, delicious snack perfect for any occasion.
Basic Buttered Popcorn
For a classic treat, begin with freshly popped popcorn using your Nostalgia maker. While still warm, place the popcorn in a large bowl. Gently melt 2-4 tablespoons of butter, adjusting to your preference.
Drizzle the melted butter evenly over the popcorn, ensuring each piece receives a light coating. Sprinkle with a pinch of salt – sea salt or table salt works wonderfully. Toss gently to distribute the butter and salt evenly throughout the popcorn.
Serve immediately and enjoy this simple, yet satisfying, snack!
Sweet and Savory Variations
Elevate your popcorn experience beyond basic butter! For a sweet treat, drizzle with melted chocolate and sprinkle with colorful sprinkles or crushed cookies. Caramel sauce offers another delightful option.
For savory twists, experiment with seasoning blends like garlic parmesan, ranch, or chili lime. Nutritional yeast provides a cheesy flavor without dairy. Add a dash of cayenne pepper for a spicy kick!
Get creative and customize your popcorn to suit your taste – the possibilities are endless with your Nostalgia maker.

Warranty Information
Nostalgia Products offers a warranty against defects in materials and workmanship. Contact customer support for details and to initiate a claim.
Retain your proof of purchase for warranty service; full details are available online or within the product packaging.
Nostalgia Products Warranty Details
Nostalgia Products warrants this product to be free from defects in material and workmanship for a period of ninety (90) days from the date of original purchase. This warranty covers normal household use and does not cover damage resulting from misuse, abuse, accident, alteration, or improper maintenance.
To obtain warranty service, please contact Nostalgia Products customer support with your proof of purchase. The company reserves the right to repair or replace the defective product at its discretion. This warranty gives you specific legal rights, and you may also have other rights which vary from state to state.
Contacting Customer Support
For assistance with your Nostalgia Popcorn Maker, or to inquire about warranty claims, please reach out to our dedicated customer support team. We are committed to providing prompt and helpful assistance to ensure your satisfaction.
You can contact us via email at customerservice@nostalgiaelectrics.com or by phone at 1-800-776-7824 during our business hours. Please have your model number and proof of purchase readily available when contacting support.